Do you how to optimize images for WordPress and enhance the site’s loading speed? Learn top optimization picture tricks! Pictures and videos are optimized to make web pages more engaging and exciting. However, multiple images on a website slow down loading times and negatively affect search engine ranking and user experience. You can easily optimize and compress images in WordPress to increase website speed and ranking. Whether you are a WordPress expert or a beginner who just installed WordPress, there are many methods to optimize images for WordPress, from using CDN, compression resizing, and cleaning methods to amazing plugins, software, or online tools.
Let’s dive in!
What Is Image Optimization?
Image optimization is the term for modifying and delivering high-quality images in a well-optimal format, dimension, and resolution while keeping the file size as small as possible.
Today, websites use more visuals than ever to catch user attention. The multimedia group has increased in popularity over the last five years, and site owners have used increasingly graphical and image-heavy pages.
Sometimes, people need to pay more attention to optimizing images for WordPress regularly, which gradually affects the speed of their site. The primary concern should be to maximize WP images, especially if they have an image-heavy site and content relies primarily on images.
Why It’s Important to Optimize Images for WordPress?
Image optimization is vital for Google and its users. Optimizing images on WordPress is critical in increasing its loading speed, enhancing user experience, implementing the best SEO strategies, and saving storage space on the hosting server. It ensures that images are displayed correctly regardless of the devices on which they are viewed.
According to HTTP Achieve, around 64% of a website’s weight comprises images. If site owners reduce the size of these images without reducing their quality, they directly and positively affect page load speeds and visitor experience.
Optimizing images is the best way to improve performance on WordPress websites without requiring coding skills. Image optimization enhances user experience, site visibility, and Search Engine Optimization (SEO) ranking because search engines factor in page load speed while ranking websites on top of the SERPs.
So, By adopting image optimization practices, businesses put less load on the origin and ultimately boost their online presence.
How To Optimize Images For WordPress?
Read on the top four ways to optimize images for WordPress:
1. Serve Images Through a CDN:
A content delivery network (CDN) is a powerful tool that uses a network of servers to quickly and efficiently deliver websites to visitors based on their location. While any CDN must improve its website speed, Jetpack image CDN stands out due to its photon technology.
Jetpack photon starts by coding its image to a modern and lighter format, which reduces file size and weight on your server. Then, it optimizes every image based on the device and screen size a visitor uses, ultimately providing the best experience to the user.
To set up Jetpack CDN:
- Login to the WordPress dashboard.
- Go to Plugins > Add new.
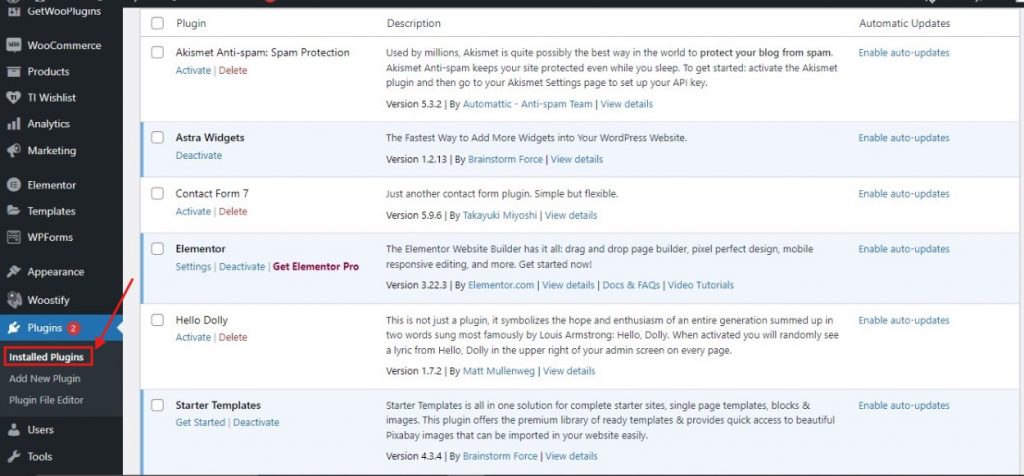
- Search for Jetpack.
- Click Install Now > Activate.
- You will be prompted to connect to a WordPress.com Account to make powerful features.
- Return to the WordPress dashboard and go to Jetpack> Settings> Performance.
- In the performance and speed block towel, enable the site accelerator.

- That’s all, and Jetpack CDN is ready to work right away.
2. Compress Your WordPress Images:
Compressing images reduces the size of the image file, and they load faster on the WordPress web page, improving its speed and user experience.
The easiest way to compress images in WordPress is to use an image compression plugin. You can manually compress large WP images before uploading them to your WordPress website using image editing software or a free tool like TinyPNG.
TinyPNG accepts PNG images and works with other image file formats like JPEG and WEB P. To compress your pictures, you must upload the required photo and compress it into TinyPNG by simple drag-and-drop. The tool will reduce its size. The TinyPNG tool compresses multiple files at once.
3. Resize Images:
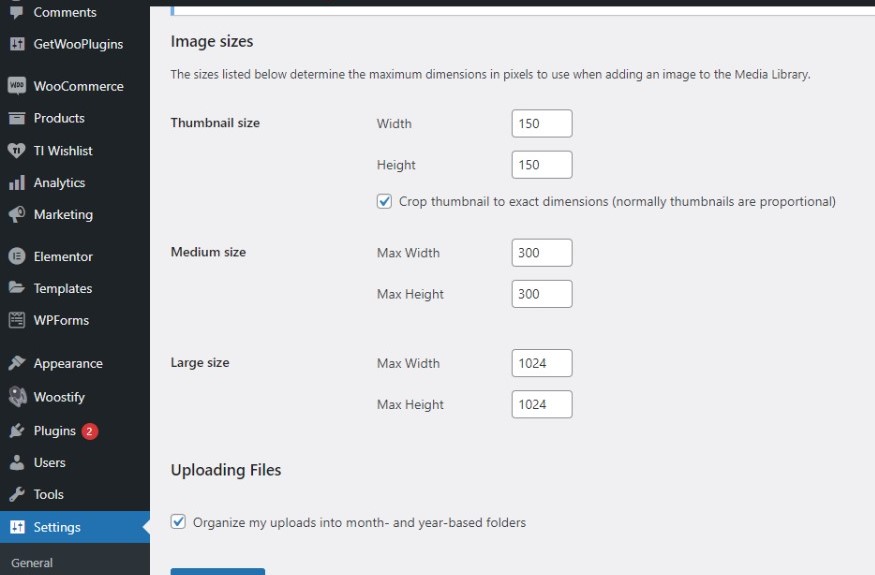
The third way to optimize images for WordPress is to resize their pixel dimensions. This feature is embedded in the WordPress core.
WordPress uses four sizes of one image:
- Thumbnail( 150 X 150 pixels).
- Medium( Up to 300 X 300 pixels).
- Large( Up to 1024 X 1024 pixels).
- Full Size (The original image size).
To change WordPress image sizes through Media Library:
- Login to the WordPress dashboard.
- Go to Setting > Media.
- Enter the maximum height and width for each size.
- Press save changes.
4. Clean Up Your WordPress Media Library:
As WordPress websites grow, their media libraries have many uploaded images, like images from deleted blog posts. Too many unused images slow down the website, occupy the WordPress hosting server space and make media management critical. Before cleaning, a backup is a must. There are two top methods to clean the WordPress media library.
A. To Do Manually:
- Log in to WordPress.
- Open the WordPress admin dashboard.
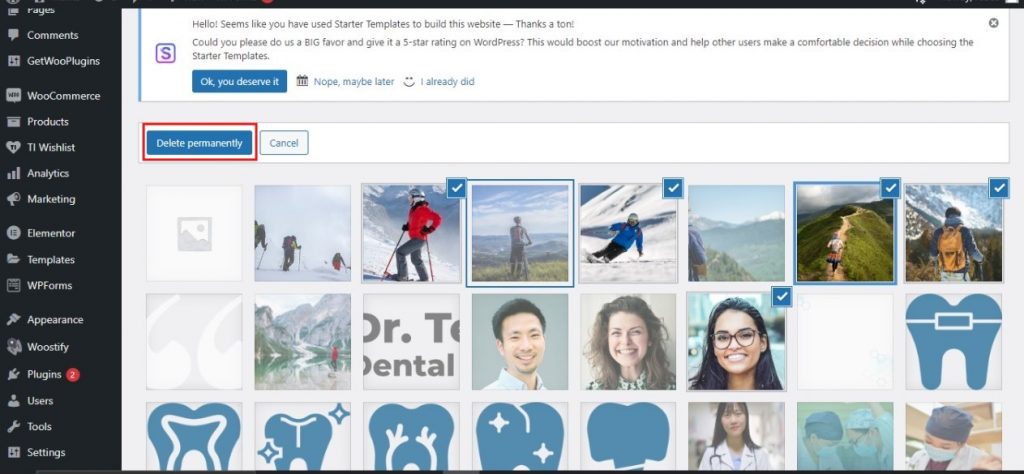
- Go to Media → Library.
- Either delete unused images individually or in bulk.
- To do it individually, click on it and select Delete Permanently.
- To delete pictures in bulk, hit bulk, select unused images, and then press delete permanently.
B. Through Media Cleaner Plugin:
- Log in to WordPress.
- Open the WordPress admin dashboard.
- Go to the plugin section.
- Install and activate the media cleaner plugin.
- Go to Media > Cleaner.
- Hit scan.
- The use image appears the same, not in use under the issue column.
- Select the pictures you want to delete and then hit delete entries.
WordPress Plugins for Optimizing Images
Many image-optimized WordPress plugins exist, but Shortpixel and Smush are considered the best due to their comprehensive features and user-friendly interface.
1. Image Optimization and Lazy Load by Optimole:
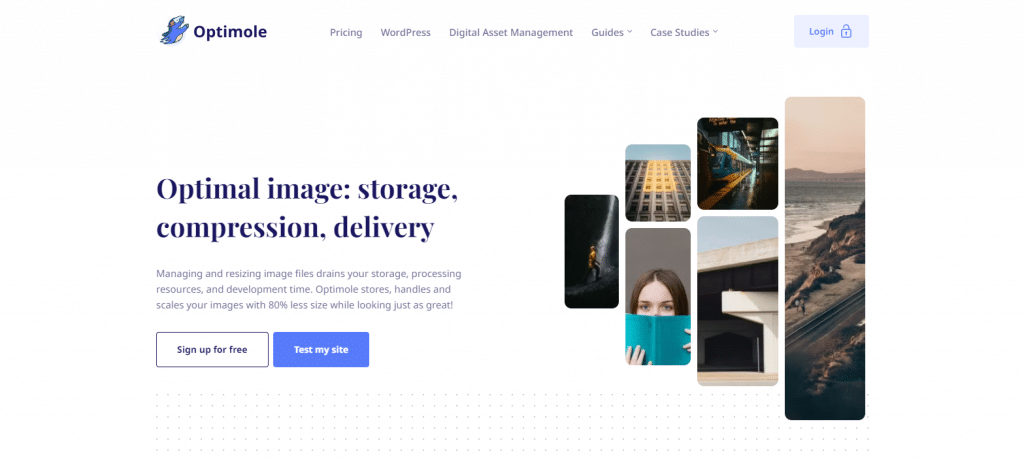
The best-optimized image WordPress plugin category includes image optimization and lazy load by Optimole.
Features:
Real-time image Optimization, automatic image resizing, lazy loading, and image CDN.
Downloads:
Over 500,000 active installations.
Rating:
4.8/5.
Pricing Plans:
- Free plan: UP to 1000 visits/month.
- Premium plan: Starts at $19 for 25,000 visits.
- Advanced plan: Available for higher-traffic sites.
Pros:
- Easy to use.
- Support web format.
- Real-time Optimization.
Cons:
- Requires API key.
2. Imagify Image Optimizer:
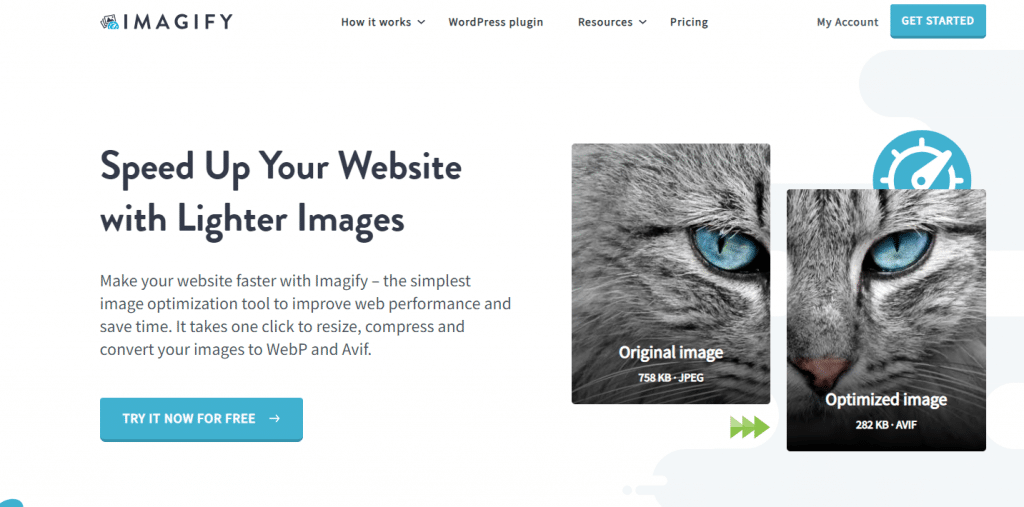
Imagify is the best WordPress photo optimizer, and many users use it.
Features:
Compression (normal, aggressive, Ultra) Bulk Optimization and image resizing.
Downloads:
Over 600,000 active installations.
Rating:
4.5/5.
Pricing Plans:
- Free plan: 20 MB of images per month.
- Starter: $4.99 per month for 500 MB.
- Growth: $9.99 per month for 2GB.
- Infinite: $69.99 per month for unlimited.
Pros:
- User-friendly interface.
- Multiple compression levels.
- Good integration with WordPress.
Cons:
- The free plan has limited offers.
3. EWWW Image Optimizer WordPress Plugin:
The third photo optimizer WordPress name is EWWW image optimizer.
Features:
Image Compression, image-free sizing.
Downloads:
Over 1 million active installations.
Rating
4.8 /5.
Pricing Plans:
- Free: Basic Optimization.
- Easy: $7 per month for 5000 images.
- Growth: $15 per month for 12000 images.
- Infinite: $25 per month for unlimited.
Pros:
- There is no limit on images.
Cons:
- The interface can be overwhelming for beginners.
4. ShortPixel Image Optimizer:
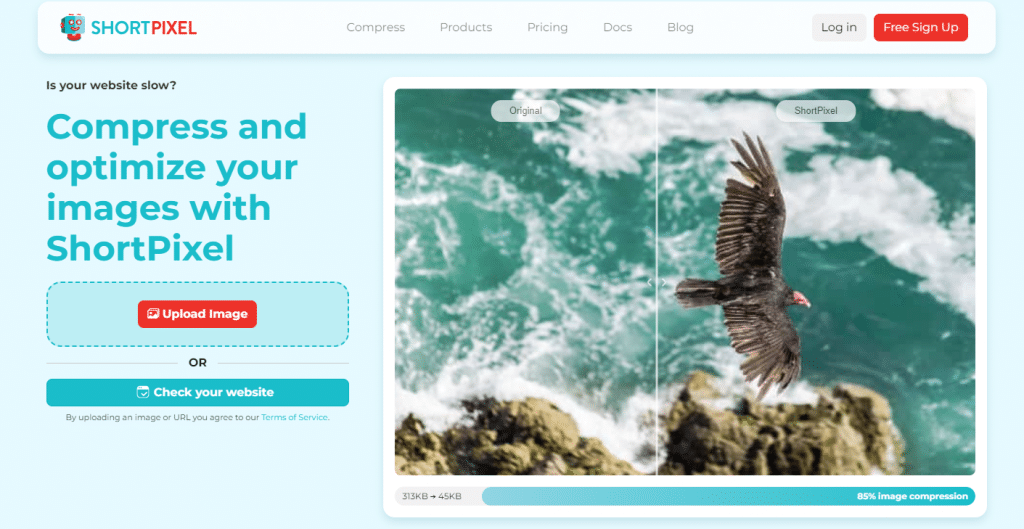
ShortPixel is a WordPress image optimization plugin that optimizes WordPress images with the best features.
Features:
Glossy and lossless compassion, bulk Optimisation, WEBP conversion, automatic resizing.
Downloads:
Over 300,000 active installations.
Rating:
4.8/5.
Pricing Plans:
- Free plan: 100 credits per month.
- Short: $9.99 for 10,000 credits.
- Large: $29.99 for 30,000 credits.
- XXL: $49.99 FOR 100,000 credits.
Pros:
- High compression raids.
- Multiple Optimisation.
- Free plan available.
Cons:
- Monthly quota limits on the free plan.
5. Smush:
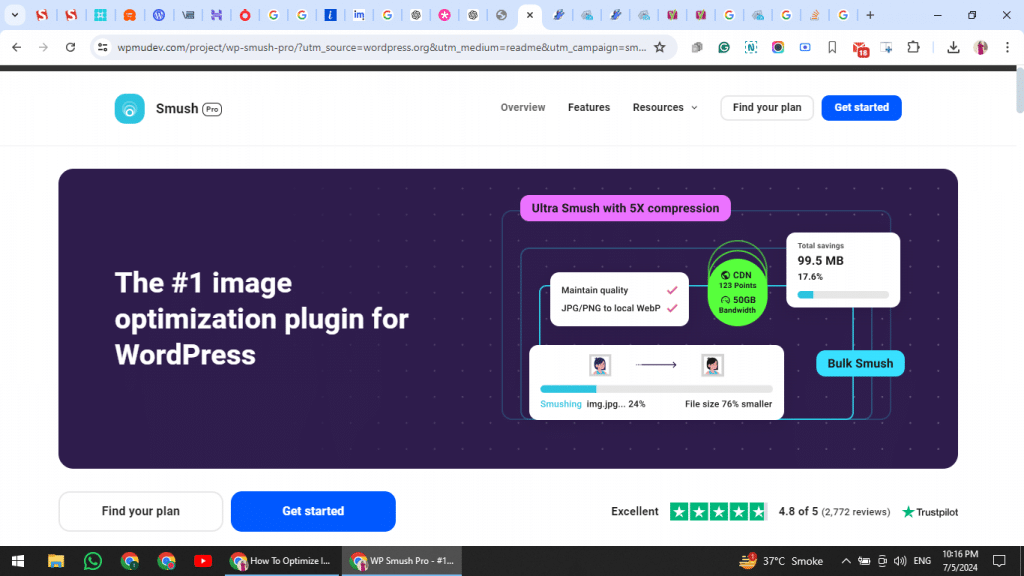
The other image optimizer plugin for WordPress is Smush. Smush is widely used to optimize images. WP Smush image compression tool resizes, optimizes, and compresses images on the web.
Features:
Image Compression, lazy loading, bulk optimization, and automatic recycling.
Downloads:
Over 1 million active installations.
Rating
4.8/5.
Pricing Plans:
- Free plan: With unlimited images but with some features and limitations.
- Pro: $6 per month billed annually with additional features.
Pros:
- It is a free version with no limit on the number of images.
- easily to use.
- It is integrated well with WordPress.
Cons:
- Advanced features require a pro version.
6. reSmush.it:
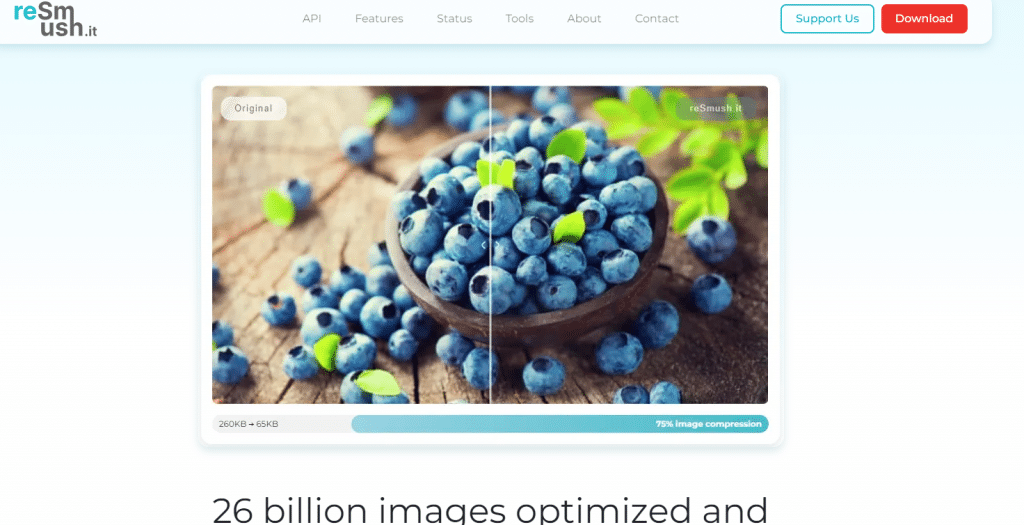
The other WordPress image optimizer plugin is reSmush.it.
Features:
Image Compression, bulk Optimization, API for integration.
Downloads:
Over 200,000 installations.
Rating:
4.5/5.
Pricing Plans:
Free for all users.
Pros:
- Free to use.
- There is no image size limit.
- Easy integration.
Cons:
- Limited control over Optimization level.
These are all top plugins to optimize images for a website. Without a plugin, Manually resize and compress images using tools like Photoshop or GIMP before uploading and use the HTML “srcset” attribute for responsive images.
Image Optimization Tools and Programs
Top image optimization tools and programs include:
Adobe Photoshop:
Adobe Photoshop is a premium image editing application that exports images with small file sizes from the web. The export option allows you to choose the image file format that gives you the smallest file size without sacrificing quality.
GIMP:
Gimp is a free and open-source alternative to Adobe Photoshop. It is used to optimize images from the web. To perform image optimization for WordPress, open the image in the GIMP and then Select file > Export.
Now You See the export image dialogue box, give the file a new name, and then click the export button.
TinyPNG:
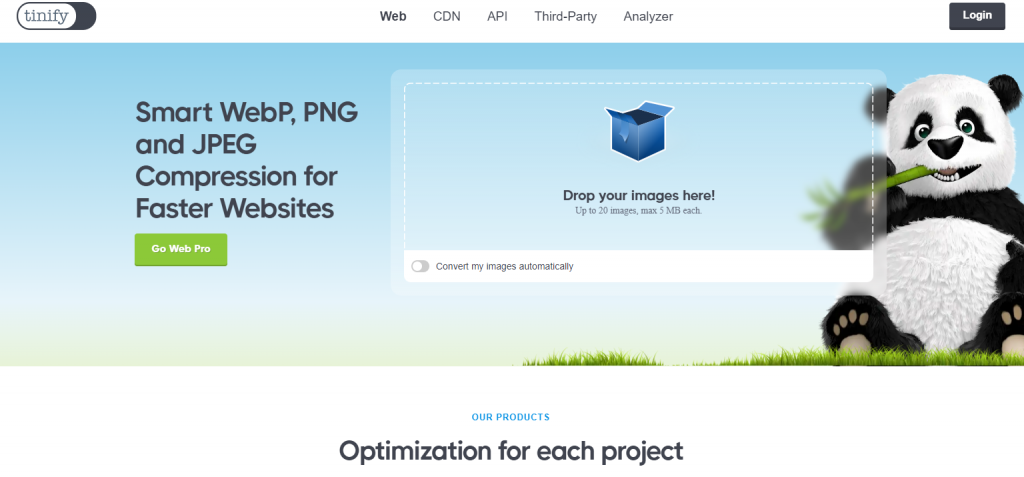
TinyPNG is a free web app with clever lossy compression techniques to reduce PNG and JPEG files. To use it, go to the website and upload images using drag-and-drop.
JPEGmini:
JPEGmini is a lossless compression technology that reduces an image’s size without affecting quality. Users can compare the quality of a regional image with that of a compressed image.
ImageOptim:
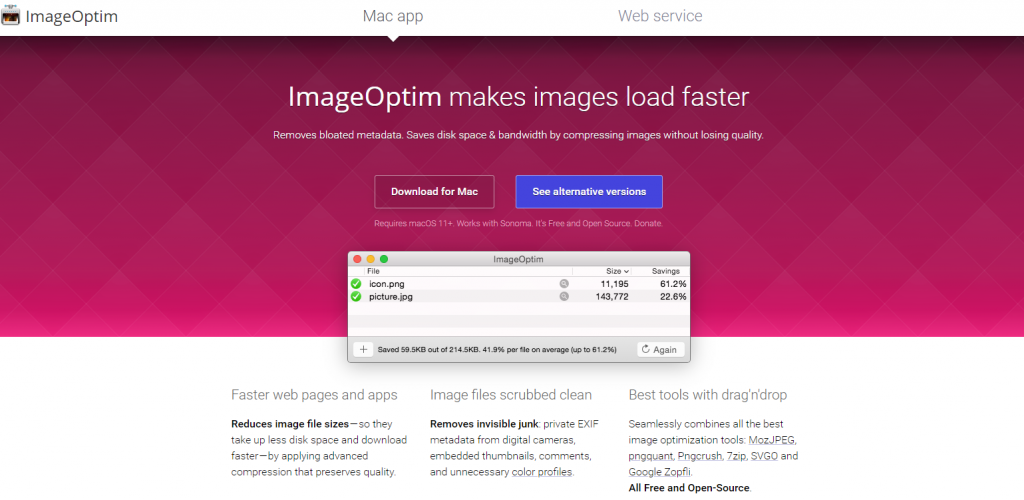
Imageoptim is a Mac utility that allows WP image compression without losing quality by finding the best parameters and moving unnecessary color profiles.
PaintShop Pro:
PaintShop Pro is a comprehensive software offering creative tools for WordPress photo editing and precise control over image optimization for WordPress. It is suitable for both advanced and beginner users who support it.
IrfanView:
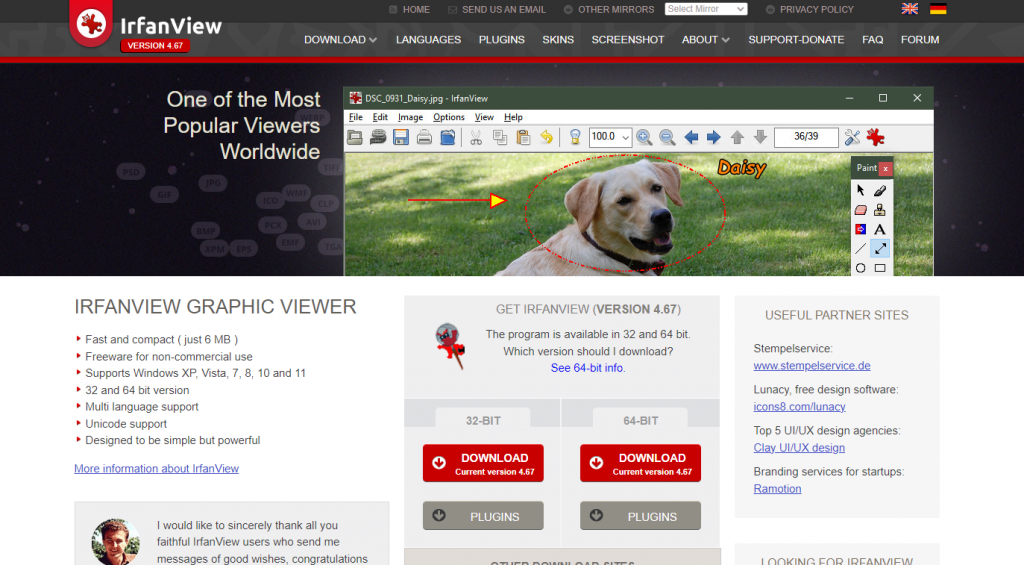
IrfanView is a fast and compact image editor. It supports many image formats and essential editing functions and is famous for its simplicity and efficiency.
FastStone:
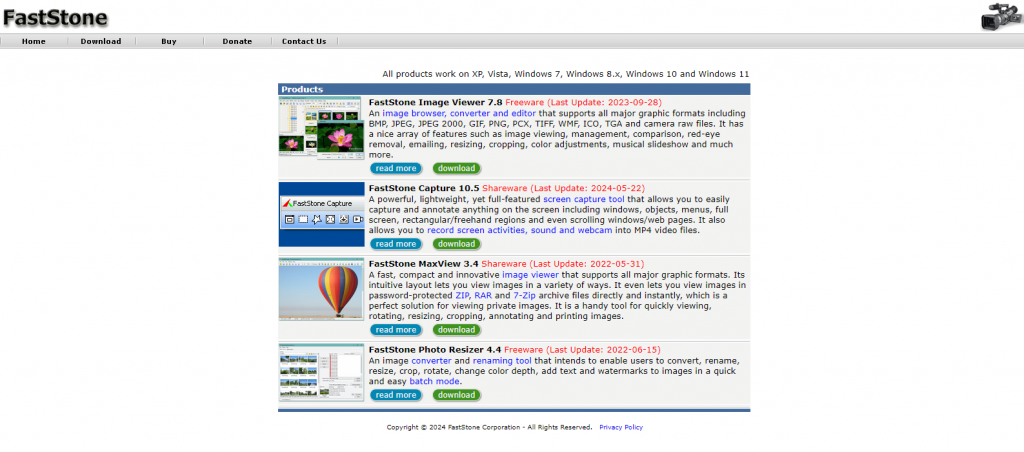
FastStone is a lightweight image editor and converter that prioritizes ease of use and site speed. It provides essential editing tools for efficiently managing image collections.
Optimize Images for WordPress Before Uploading to Your Site
You can optimize WordPress website images by compressing images, resizing them to appropriate dimensions, using correct file formats, and enabling lazy loading.
Image File Formats:
Consider the available image formats before uploading images to your website to optimize them for WordPress. The two standard image formats used online are JPEG and PNG.
These two formats are made up of pixels. When somebody changes the size of an image, pixels stretch or sometimes make it blur. However, both image types have different strengths and weaknesses. You have to understand what and when you have to use these formats.
1. When to Use JPEGs
JPEG files are best for printing and web content. These image files use a lossy format, so when a large image is converted to JPEG, some information is lost, and overall image quality could be lessened. Fortunately, the reduction in quality is not too noticeable, especially for smaller images.
2. When to Use PNGs
PNG files are best for web content like JPEG but differ slightly. PNGs have transparent backgrounds and are more versatile or handy for designing web graphics. PNGs use a lossless file format.
So, the image is retained when the file is compressed to a higher quality, but it offers a negligible improvement in file size and page speeds. So, this is an excellent option for graphics and icons and for obtaining high-quality images to enhance user experience.
Image Size:
Image size matters a lot in WP Image Optimization. If an image is 820 X 820 pixels or displayed by the browser as 400 X 400 pixels, that is 32,400 unnecessary pixels. A width of 1200 pixels is generally recommended for website use, ensuring a balance between quality and load times.
Keep image size under a couple of hundred kilobytes by saving them as web-optimized jpegs or PNGs. The standard DPI is 72, achieved by saving images in the prescribed format and using Lightroom or Photoshop to reduce the image size to around 1500 pixels or less.
In Photoshop:
- Go to Image > Image size.
- Adjust dimension and resolution.
- Go to File> Export> Save for web-optimized images.
- Then Upload.
In the case of Lightroom:
- Go to file > then export to adjust the image size manually.
Image Compression:
Image Compression minimizes the size of a graphic or image file without damaging the image quality to an acceptable level. WordPress automatically compresses images to 82% of their original quality upon upload.
Lossy vs. Lossless Compression:
Lossless Compression: Preserve all data from the original file without sacrificing quality. Then, the file is broken into a more diminutive form for transmission or storage and resembles the latter for use.
Lossy compression. Remove some data for image files that cause lower quality but improve page speed.
Image Compression Plugins:
WordPress plugins for compressing images include:
- Smush.
- Imagify.
- ShortPixel.
- TinyPNG.
Enjoy compressing website images with these WordPress image compression plugins.
Optimize Images for WordPress After Uploading To Your Site
Lazy Load Images:
When users visit your site, all the content begins to load; for heavy content pages, it may take some time for them to load. Lazy loading hurts users.
Instruct the site to first focus on loading the text, images, and other visible elements. Then, it should load accessible content by scrolling down the page.
Plugins are one of the best ways to improve the site’s speed and visitor experience by enhancing loading times immediately. One of the best ways to add lazy loading to a WordPress website is to use the “lazy load plugin” formed by WB Rocket, which reduces the volume of requests sent to the website web server at a time.
Cache Images:
Another method for improving a website is through catching. It saves data and makes it accessible to visitors, often via the third-party server close to their location or in their browser.
This can be done through coding, plugins, and other tools or by implementing robust catching.
Remove EXIF Data:
Exif data is stored as an image file containing information about where and how a picture was taken. Its most significant benefit is that it automatically adds data to camera images. Removing EXIF data from images speeds up the page and improves user experience. You can’t use any plugin to do this; you must contact a developer.
Avoid Image URL Redirects:
Another significant element that can slow down a page’s speed is when images cause redirection. You should avoid adding images from external sources to your site. Instead, you can design and upload the same pictures and media pieces directly on the website. Ensure that images don’t go out to anything, such as a separate media page.
Optimize Images For Search Engine:
Users can optimize website images for search engines by focusing on these aspects.
Alt Text:
Alt text is added to an image to provide a description; it helps search engines understand the content and improves accessibility for users who rely on screen readers.
“ Alternative text ensures that no information and functionality is lost when images are unavailable to the user, perhaps because they have turned off images in their web browser or using a screen reader due to a visual impairment.”
For Alt Text implementation in WordPress:
- Select the image block and use the Alt text field in the image setting.
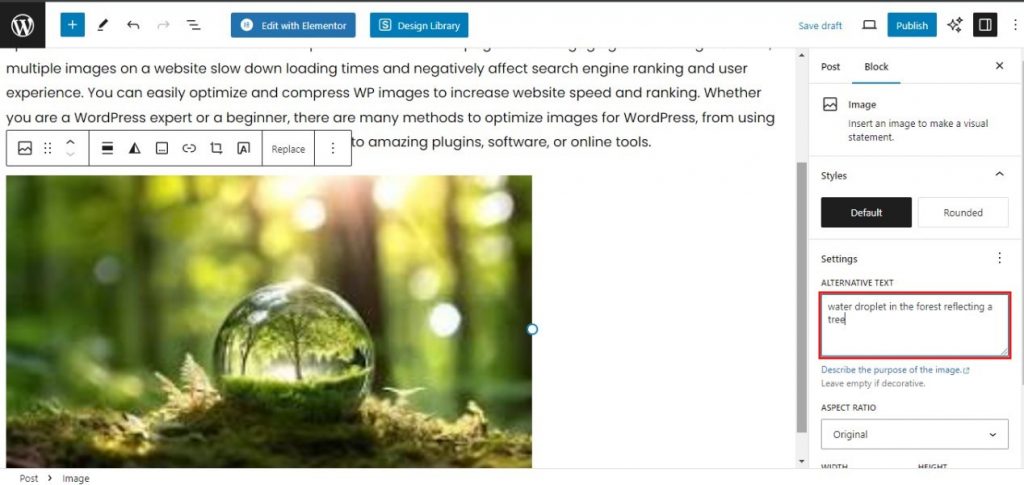
- Use descriptive and specific alternate text, which must have keywords.
- Ensure alt text accurately reflects image content and context.
For example: Puppy play in image
<ALT text>: Puppy playing with a blue ball in the park
Title Tags:
The title tag appears as a tooltip when the user hovers over the image, providing additional context and details to help with SEO and user experience. For title tag in WordPress:
- Hit a new post.
- Go to the top block named Title and type your post title.
- Add a concise, keyword-rich title tag to the image.
- Use the title tag to provide the user and search engine additional context.
For example: Puppy play in image.
<Title Tag>: Golen Retriever Puppy.
Create XML Image Sitemap:
XML sitemaps help search engines discover and index images on websites easily. They also improve the chances of images appearing in top research. To do this:
- Create an account (Google search console), select the domain, and create a sitemap.

- Submit XML Image sitemap to search engines.
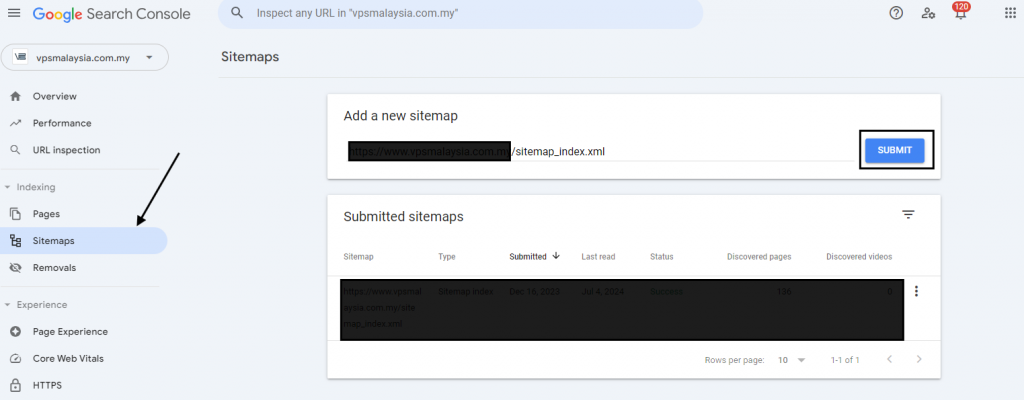
- Include all image URLS along with relevant metadata like caption and title.
You can also use the Google sitemap generator, RankMath, Jetpack, Yoast SEO plugin, and All-in-one SEO plugins.
Image Placement And Captions:
Proper placement of images in WordPress with captions enhances user engagement and gives original context to search engines.
- Place the image near the relevant text.
- Use descriptive caption having the keyword.
For example: Puppy play in image
ALT text: Puppy playing with a blue ball in the park
<figcaption> Golden retriever puppy having fun in the park.
Conclusion
There are lots of factors that affect WordPress speed like WordPress hosting. Images are also one of them. Never misjudge the impact of WordPress image optimization on search engine ranking or user experience. Unoptimized images in WordPress are one of the primary reasons for a slow website. Optimizing images on WordPress is an essential aspect of website management that directly impacts website performance. There are various ways to optimize images for WordPress, but choose the best metadata, lazy loading, and caching techniques to enhance site performance.
Implementing the WordPress image optimizer tools and plugins mentioned in this guide ensures images are optimized for the best and fastest loading times, and high-quality display because Google does not give top SERPs to slow websites, and users and clients do not like them.
This article helps you learn how to optimize images for WordPress. Do you still have questions on how to optimize pictures in WordPress? Feel free to comment below.



Leave a Reply